If had a nickel for every time someone asked me why Revit can’t render lights in the proper place on a tiles ceiling, I’d… well I’d be sitting back and writing these instead of writing these between work hours.
Now, if I had a nickel for every time the person that asked me that told me they have never cracked open the Revit manual, I’d be writing these tips from my private island!
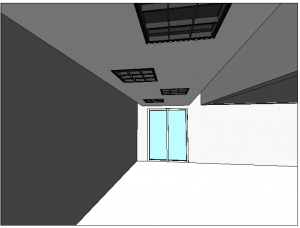
Let’s not lie, we’ve all rendered something and seen this before. I’m looking at my 3D Preview, everything looks great.

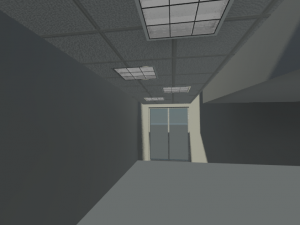
You hit render… and wait… and wait.. wait….. what the?!?…
WHAT HAPPENED TO MY CEILING TILES!? Yeah, you know it. Did you know there’s a way to align the render materials? What if I told you it’s less than painful to do this in 2010 (sorry, 2008 is a bit more extensive process if I remember correctly)? I’ll even show you!
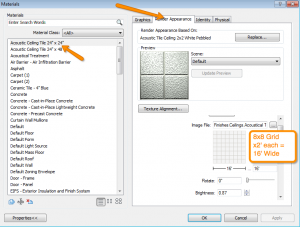
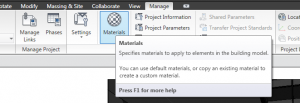
This is all done from the materials setting dialogue.
Find the Material containing the texture you wish to align.
Go to the Render Appearance Tab
In order for this to work, it’s important that the texture map is set up to be really close to the same size as the surface pattern. So if you have a 2’x2′ surface pattern set to the material to represent the tiles in a Reflected Ceiling Plan (RCP), then you should have the image map set to appear close to 2’x2′

Click “Align Texture”
Here you can align the texture map on top of the surface pattern (see why the sizes need to be set up correctly now!?).
Click OK a few times, and try that render now!
Assuming you set your lights up corectly in your RCP you should now see your lights rendered in the correct place!
Thanks again for stopping by! I sincerely hope you learned something from this tip. Feel free to comment and give feedback. Stop by again, for the next Revit TotD!
-Carl


