OK, so those of you that are here that really know your stuff may start thinking that this isn’t really advanced. You’re right, but looking back, we started with navigating a freaking curtain wall… this is pretty advanced for those people that are just delving into Revit’s curtain walls; and you guys are doing great for being 5 days in! So here we are, at the culmination of our curtain wall tips. So without further adue, let’s delve into our advanced curtain wall! **Please note, I ran out of time at the end of this recording, so it cuts off the “thanks for stopping by, and see you tomorrow.” bit at the end. I still love you guys, just wanted to let you know since the video cut it off 🙂
Nesting other walls into curtain wall panels:
- Select the panel(s) you wish to replace.
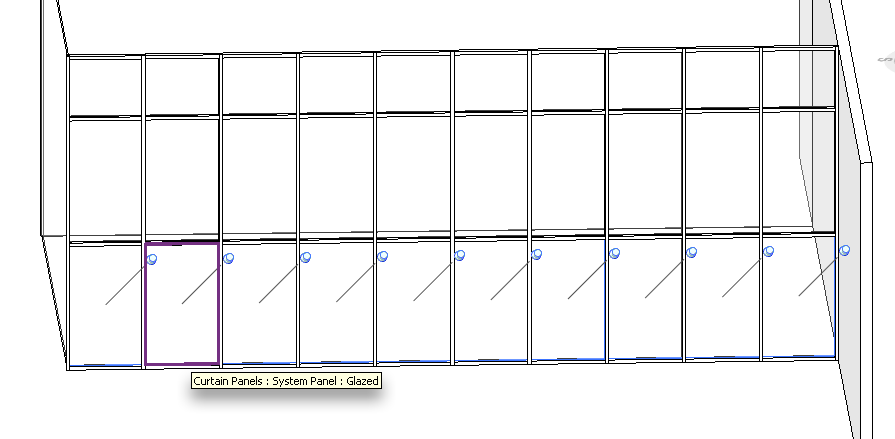
- If the panels are part of a predefined curtain wall type, then you need to unpin the panels.

- In the type selection drop down, notice you can select other wall types, even curtain walls. The only wall you can not place in the panel is the same curtain wall that the panel is already in.

- Each panel has it’s own instance properties as though it were it’s own wall instance. If you need to make batch changes to the walls, do it before you deselect them. Play, experiment, have fun!

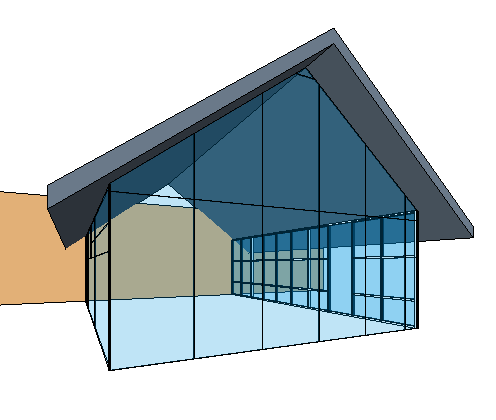
You can also attach a curtain wall to a roof/floor just like you can a normal wall:
- Select the curtain wall you wish to attach to a surface.
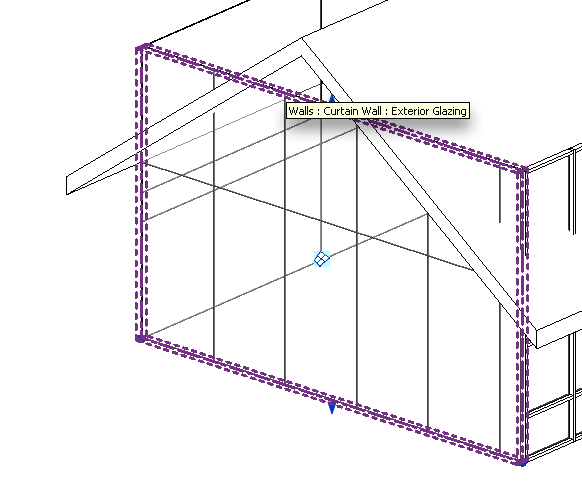
- Choose “Attach” form the options bar.
- Choose the host you are attaching to.
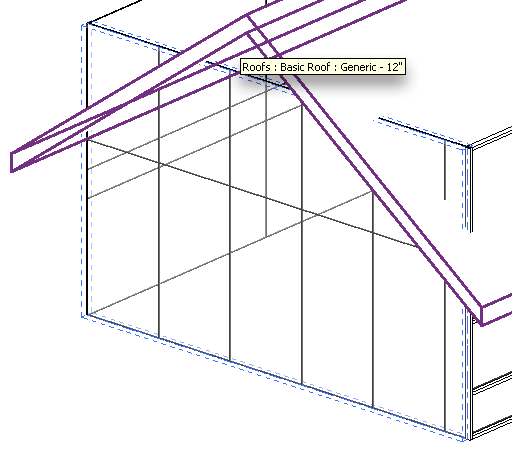
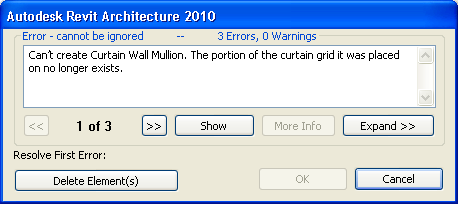
- If there are mullions at the top of your curtain wall, Revit will warn you that you are about to delete these mullions. If that is what you prefer, choose ok.
Well, that concludes this little mini series on curtain walls. I hope you took something of value from it. Don’t worry, there are still plenty of tips to be had here at Tip of the Day central! So come back tomorrow for yet another TotD! See ya soon!
-Carl Gibson



One response to “Revit TotD – 6.11.09: Curtain Walls.5 | Advanced Curtain Wall Types”
This is really informative I was waiting to see how you connect the three curtain walls to each other, but the video stops before that part could be discussed, can you shed light on how you join the curtain walls. I have had some problems with this.