As usual, this tip is the result of coming across another odd “I don’t have that option” when trying to help another fellow revitcity.com member. When he asked about how to show the Volume and are information in his room tags, I simply remarked that he should choose the correct Room Tag type from the Type selector. When he said he did not have that option, I went through painstaking detail to explain to him where the type selector was and how to change the types, only to find out that the metric room tag family does not have those options. Surprised, not really. So here are the steps I gave him to modify his room tag to display this information. This can be used for any annotation family that you wish to modify to show information you wish to show.
Modifying your Room Tag labels and types:
- Select the room tag and click “Edit Family.” Alternatively you can open the family directly if you know where it is located.
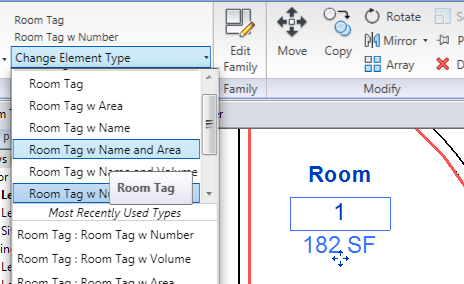
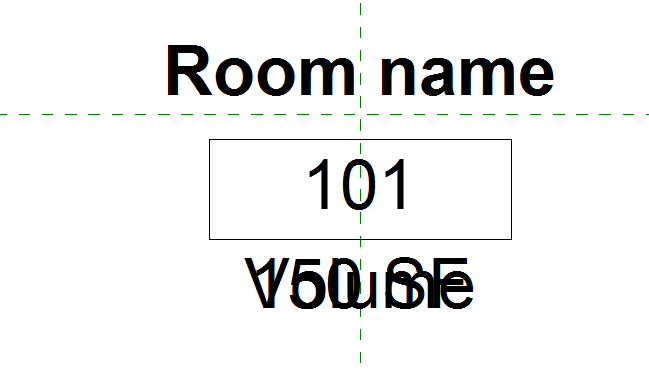
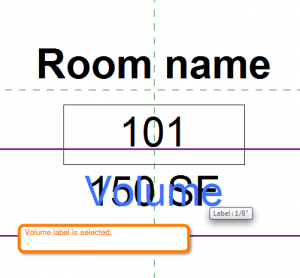
- In the family you will see what labels are already in place.
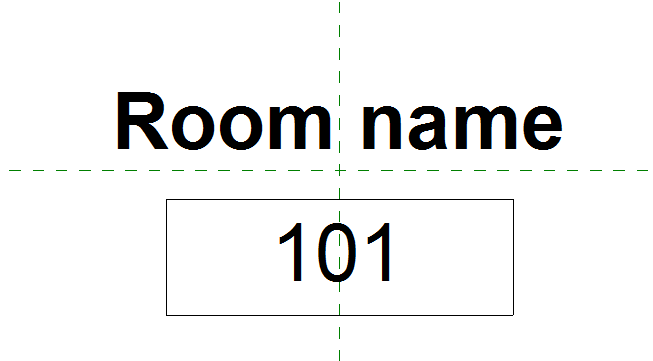
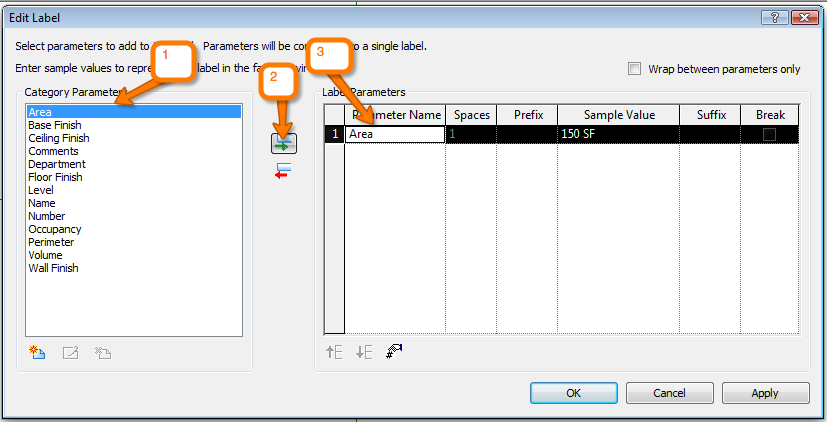
- Place the new Labels.
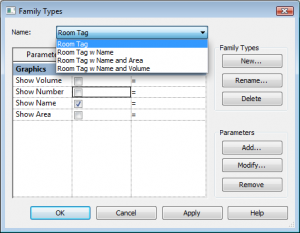
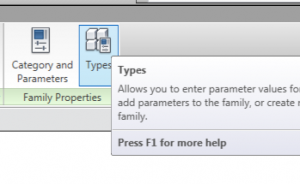
- Click “Types” to access which types are available.
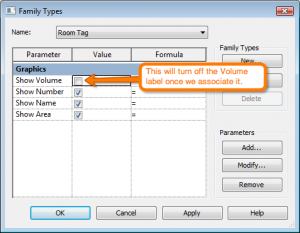
- Create the parameters for the visibility controls that we will associate to the new Labels. In this case we are crating tag types that will individually show Room Name; Name and Number; Name, number and Volume and finally Name, Number and Area. So we need 4 yes/no parameters in this case.
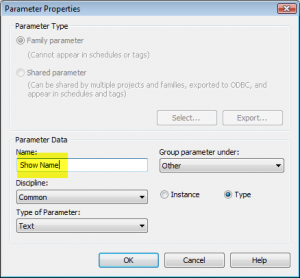
- Create New parameter,
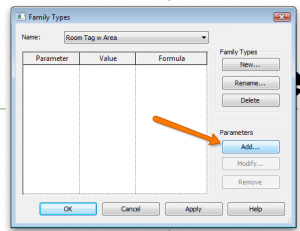
- Name it according to which label it will be controlling.
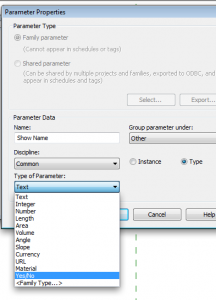
- Choose “Yes/No” from type.
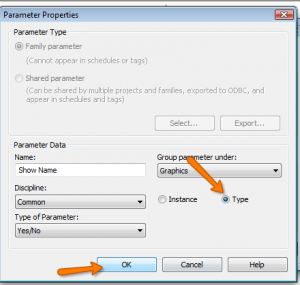
- Choose the appropriate group for your parameter. In this case it will be Graphics.

- Leave it as a Type parameter since the family type will be controlling the parameter. Click OK to create the parameter
- Repeat for the remaining parameters.
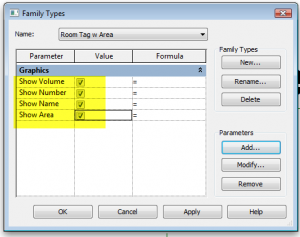
- Create New parameter,
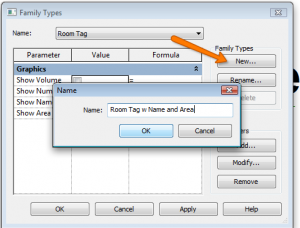
- Create the 4 types.
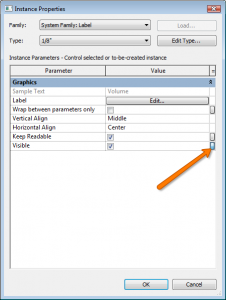
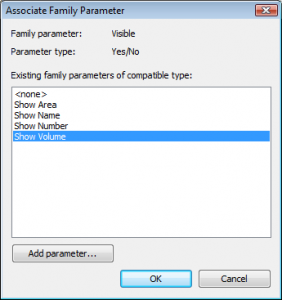
- Associate the parameters to the object’s visibility parameter.
- Load the new tag into the project.
- Notice that you now have the 4 types we just created available in the type selector.
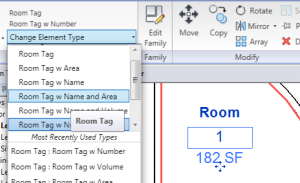
- Test the new family to ensure all types work appropriately.
While I wasn’t surprised to learn that the Metric install of Revit omitted these types from the family library, I was sure disappointed. Either way, I hope this has been helpful to you. Remember you can apply this to most annotation families that you wish to alter the information shown for your projects. Remember that you also will want to save the new family in a different location than the default family location so that you don’t overwrite the default tag. Thanks again for stopping by, have a great day and I’ll see you again for the next Revit TotD!
-Carl


