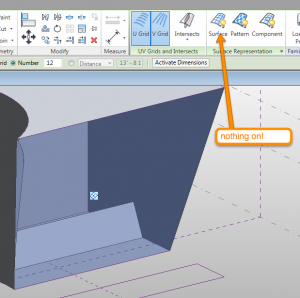
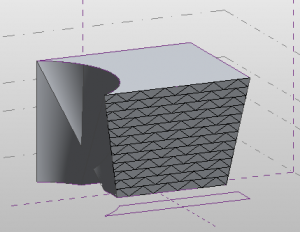
Wasn’t that a nice break?! Now back to what we were talking about… what were we talking about? Oh yea, CDE! So we’ve had a quick run down of creating masses in CDE and also of cutting holes in them. You know how to adjust the forms using reference lines and points. You can join, cut, add and subtract… been practicing? Good. So now that we have some point, edges and surfaces, let’s focus on the surfaces.
So today i’m just going to go through some things you can do with surfaces, namely dividing a surface.
You should really not think of this as a curtain wall system, but more as converting this to a useful surface. As we explore later in the series, there are a lot of things you can do with this surface, much more than just make it a curtain wall (besides you can do that in the project, why would you do that here?). Now that we have a divided surface, let’s take a closer look.
If you select the divided surface, you’ll see we have a grid.
This is not to be confused with a curtain wall grid. This is the surface’s U/V grid… if you don’t know look it up, cause the explanation is beyond this post, long story short, it’s X/Y grid for this surface, but unrelated tot he project’s X/Y. You can turn this grid off and on…
… you can change the pattern with pre-defined patterns…
… and turn those on and off!
The last neat trick you will learn today is the ability to fill these grids with components.
There you go…. 🙂 Just enough to make you come back next time, right?! Well, we’ll spend the next few posts going over each of these options and then launch into what we can do with these components! Thanks again for stopping by and I hope to see you for the next Revit TotD!
-Carl


One response to “Revit TotD – 11.12.2010 | Divide and Conquer”
A great reference material. Keep it up Carl.