Hopefully you spent all weekend playing around with those surfaces and components and patterns cause today we’re going to dive into some of the features behind each of those, beginning with Divided Surfaces!
So as you saw from our last TotD, divided surfaces is the first step to take in turning your mass into something really fun in Revit. However there are a few things that you should know about when it comes to the properties of that first step into awesomeness.
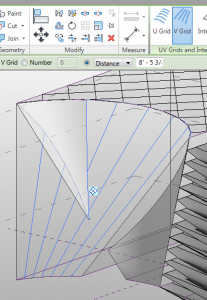
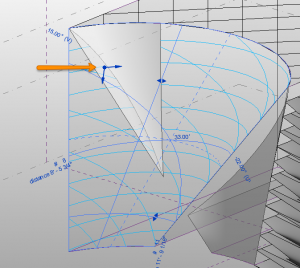
So this is the infamous UV (get it now?.. the title? *HUYUK*) grid? You can see it’s mouch more complicated than just an XY coordinate system, but to demonstrate the similarities you can turn individual (or both) grids off.
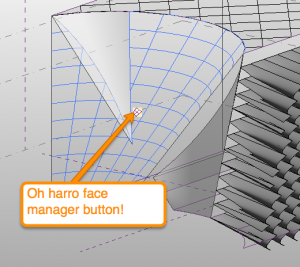
By selecting a surface you can access the Face Manager.
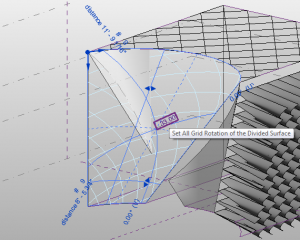
Using the face manager you can rotate the grid…
… partially rotate…
… in multiple directions separately even!
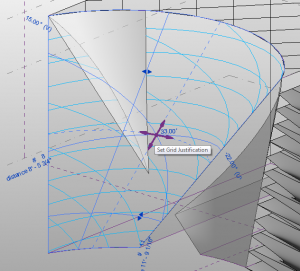
Using the crosshairs you can justify the start point of the grid.
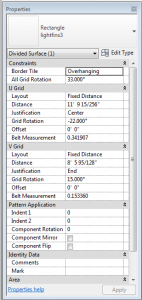
You can also set a lot of this parametrically in the Divided Surface Properties:
Speaking of parameters, I just realized that there’s no way we can fit everything into this one TotD, so I guess we’ll see each other again next time! Thanks for stopping by and I’ll see you again for the next, Revit TotD
-Carl
