Today’s tip is going to borderline a Revit tip and a general modeling tip. I wanted to round off the form and void massing portion of this series by making sure we know how to actually use these tools! So today I’m going to go over a process that is used by… well probably every 3d modeler at some point in their career, as well as how to adapt that process to the CDE in Revit.
Most 3D artists are taught a process to create their forms through use of the Elevation and Plan concepts that they have to work from. Seeing as how this is a series for Architecture Students, I’m going to assume that you actually do have Elevations and Plans to work from. What you’ll really need to get a good start on a 3D form are at least 3 images: Plan, Front/Rear Elevation and a Side Elevation.
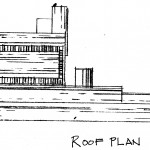
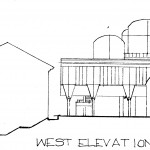

I find it easiest to label the views in Revit according to the images so that I know which image belongs in which view.
Once you have the views labeled we can start bringing in images and scaling them. It helps to already have your images drawn and scanned to scale, but we’ll cover scaling them here just in case. To bring an image into a view:
- Activate the view you want to insert the image into. Note that images can not be placed in 3D views in the CDE.
- Use the Image tool under the Insert Tab.
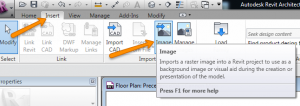
- Browse to the image you want to insert into the view.
- Place the image.
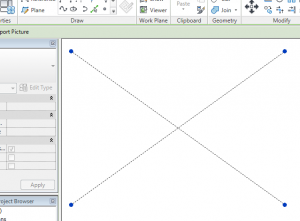
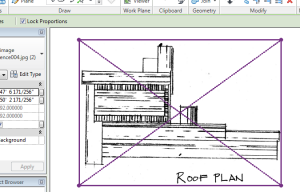
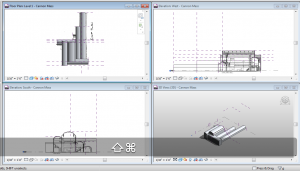
Now that we have the images placed let’s look at our workspace set up. Typically in a modeling environment, an artist would have 4 views up: Plan, Front, Side and 3D.
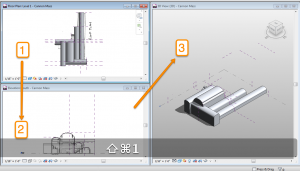
Leaving all of these up in Revit would really kind of clutter the workspace, so here are a few ways to navigate quickly back and forth between views while you mass up your forms. You will really want to become familiar with the keyboard shortcuts “WT” and “ZA”.
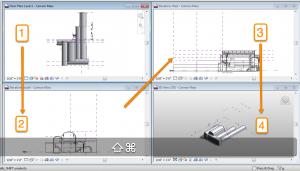
“WT” Tiles all windows. So you can quickly go from a maximized single view, to seeing all windows that are open. This means it is important to manage the windows you have open.
There is an order to the tiling sequence: the window most currently active will be int he upper left corner, second will be below that, third below that, etc. and it read like a book; so if window “2” is at the bottom left with no more room for window “3” then the next window will wrap to the next column. So just like an english newspaper; Top to bottom, left to right.
“ZA” tells revit to zoom all of the visible windows to the extents of each view. So if you have all 4 of the previously mentioned windows open, you will see 2 elevation, a plan and a 3d view of your mass.
Finally there’s the double clicking the Title bar of the view. This will quickly maximize the view you want to work in. Coupled with the shortcuts I just gave you, this is a very efficient way to model up your conceptual masses!
Well there you have it, another [hopefully] great tip for you reviteers out there! Thanks again for stopping by and I’ll see you nex ttime for another Revit TotD!
-Carl
